Create Offline Encoding Session
To create a new Offline or Live encoding session, on the Encoding page click the + New Encoding Session to launch the wizard to walk you through the creation.

The user can navigate back and forth by using the Back and Next buttons, without losing any changes, until they either click Cancel or Save on the last page.

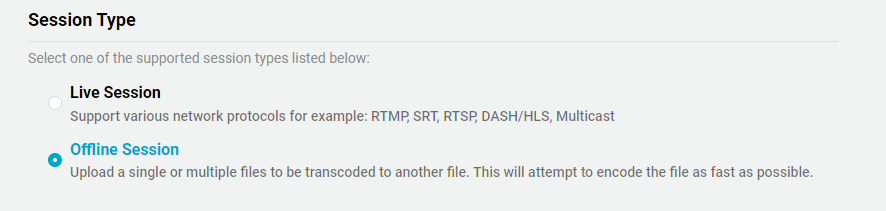
1. Select Type

This section allows the user to provide:
| Parameter | Required | Description |
|---|---|---|
| Name | yes | Provide a name for the encoding session |
| Description | no | Provide a description for the encoding session |
The next section allows the user to select the desired Session type.
2. Configuration
This section allows the user to configure the offline configuration.

| Parameter | Required | Description |
|---|---|---|
| Template | yes | Select one of the previously configured templates |
| Format | yes | Select the desired output format/container |
| Location Path | yes | Select the desired file path location to save the input and output files |
Offline encoding for container output formats require the template to only have one resolution
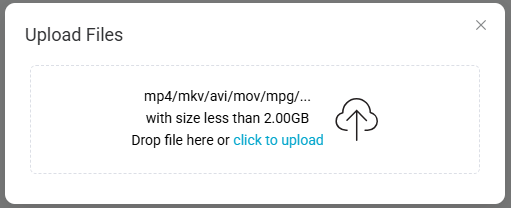
3. Files
After the configuration has been completed, the user will be able upload up to 20 files.

-
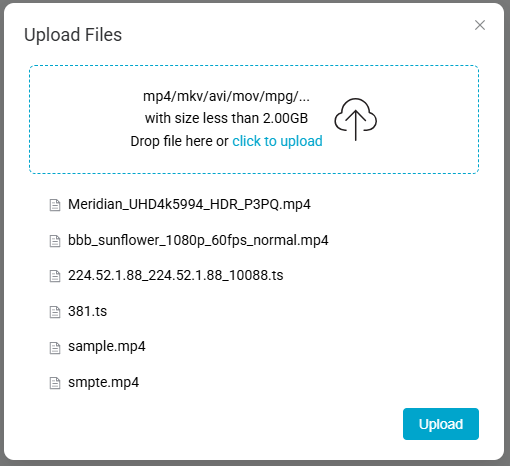
Click on the + Upload Files will provide a dialog box for the user to upload up to 20 files. The user can also drag and drop a or more files into the dialog box.
-
After selecting the required file(s), click Upload
-
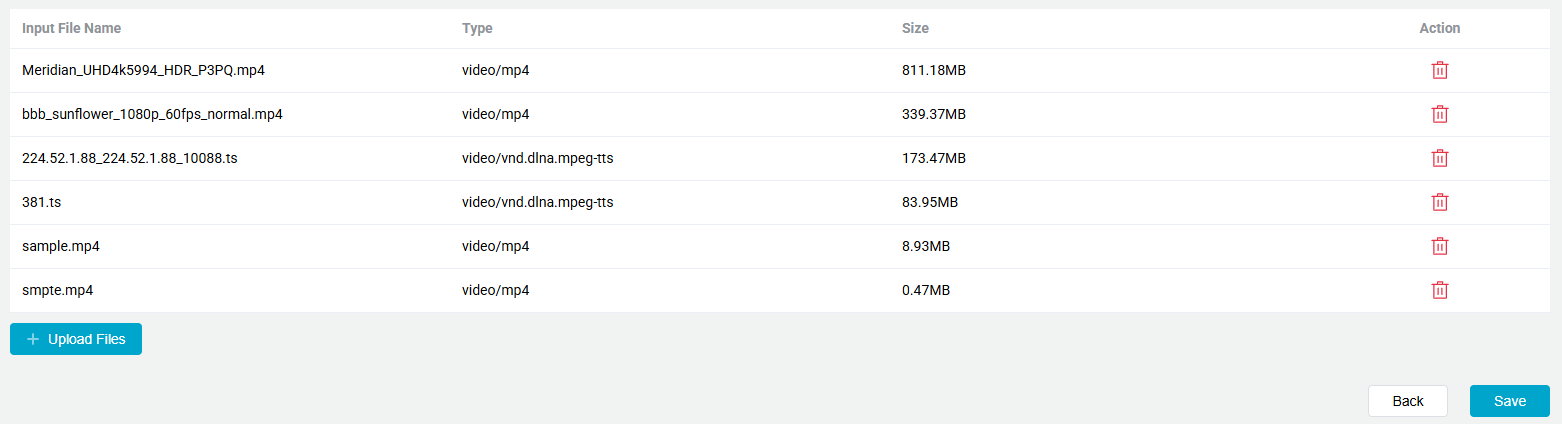
All the selected files will be displayed in the table before upload will begin. The user can chose to add more files or to delete one or more of the files.
-
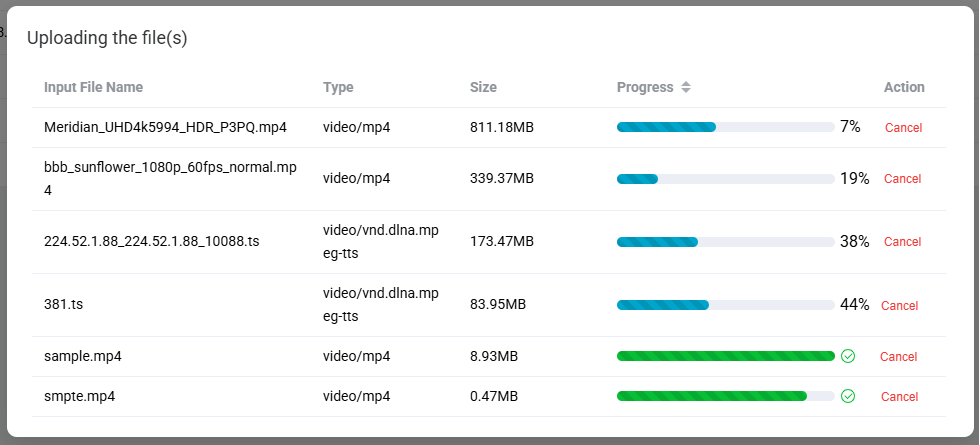
Click Save will start the upload progress and a dialog box will be displayed showing the progress.
-
Once the files have been uploaded the offline encoding session will automatically begin. After all the files have been uploaded, the user will be directed to the Offline Sessions page.
